Why blockchain explorers are your first real due‑diligence tool
If you buy tokens, use DeFi, or even just move coins between wallets, blockchain explorers are the closest thing you have to an x‑ray of the crypto world. Instead of relying on slick websites, anonymous Twitter threads or Telegram shills, you can look directly at the underlying data. That matters more every year: according to Chainalysis and other analytics firms, crypto scams and hacks have still caused billions of dollars in losses globally over the last three years, even though overall scam revenue has been trending down since 2021. At the same time, user growth kept rising — Triple‑A estimated over half a billion crypto users worldwide by 2023 — which means more newcomers arriving faster than education spreads. Learning to use a blockchain explorer for crypto due diligence is now less “nice to have” and more basic survival skill if you don’t want to be exit liquidity.
What a blockchain explorer actually does (in plain English)
At its core, a blockchain explorer is just a searchable interface to a public ledger. Every transaction, wallet (address), token contract and block is stored on the chain; the explorer pulls that raw data from nodes, decodes it and shows it in a human‑readable way. Under the hood, Bitcoin, Ethereum and other chains work differently, but from a beginner’s perspective explorers answer a few universal questions: who sent what, when, to where, using which token, and how much they paid in fees. Over the last three years, as activity moved into DeFi and NFTs, explorers added extra layers: decoded token transfers, labels for known exchanges, contract source code, tax‑friendly CSV exports and even basic analytics. That’s why most serious crypto due diligence tools blockchain explorer combos now start with the same simple step: paste an address or transaction hash into an explorer and work outward from there.
Why due diligence matters more now than in 2021 hype times
The 2021 bull run made it feel like vetting didn’t matter—almost everything pumped. But the hangover of 2022–2023 showed what happens when people trust logos and influencers instead of data. Several major centralized exchanges and lending platforms collapsed, and DeFi exploits repeatedly drained hundreds of millions of dollars. On‑chain analytics firms report that while the absolute volume of criminal activity fluctuated, the number of individual scam schemes remained stubbornly high, with phishing, rug pulls and fake tokens dominating. At the same time, Ethereum and L2 networks processed tens of millions of transactions every single day by 2024, which means there’s more noise than ever. A calm, methodical approach to how to use blockchain explorer to verify crypto transactions is now a decisive edge: you move from guessing and hoping to checking and confirming, before you press “confirm” in your wallet.
Core concepts you must recognize inside an explorer
Addresses, transactions and blocks without the jargon
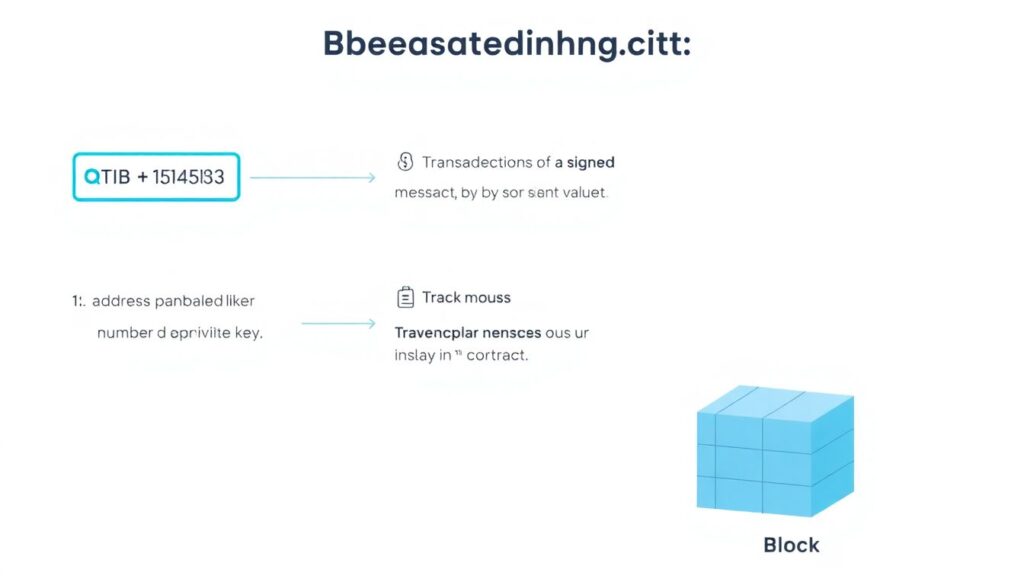
Before talking about the best blockchain explorers for beginners, you need to recognize three basic objects. An address is like an account number, controlled by a private key or a smart contract. A transaction is a signed message telling the network to move value or interact with a contract. A block is a batch of verified transactions, chained together by cryptography. In an explorer, these appear as lists and links: click an address, you see its transaction history; click a transaction, you see which block it landed in; click the block, you see others nearby in time. Over the last three years, explorers have improved the way they decode complex interactions, so instead of raw hex you see “Swap 1.2 ETH for USDC on Uniswap” or “Approve spending of 1,000 tokens,” which is essential when you’re doing due diligence on what exactly a transaction will do to your balance.
Tokens and smart contracts: where most risks hide
The biggest traps for beginners usually live in token contracts, because anyone can deploy thousands of new tokens cheaply. Explorers show these as “contract addresses” with extra metadata such as source code verification, token decimals and holders. Since 2022, we’ve seen a persistent pattern: scammers mint a token, seed shallow liquidity, then hype it on social media until they can pull the liquidity or block trading. Explorers give you a way to see through the marketing by showing who actually holds the supply and how locked the liquidity is. When you start treating the contract page as your primary source and everything else as commentary, you naturally avoid a big share of what has been draining newcomers’ capital every cycle, even as total market capitalization and trading volumes cycled up and down from 2021 to 2024.
Choosing the best blockchain explorers for beginners
For due diligence, the “best” explorer is the one that covers your chain, loads quickly and explains complex things in simple terms. For Bitcoin, Blockchain.com and mempool.space are widely used; for Ethereum and many EVM chains, Etherscan and its network clones (like BscScan, Arbiscan, Snowtrace) dominate; for Solana there’s Solscan and SolanaFM. What changed in the last three years is that explorers added beginner‑friendly overlays: labels for official bridge contracts, warnings around risky token approvals, and APIs that let wallets show richer previews before signing. As a newcomer, start by picking one explorer per chain you use, bookmarking them, and learning their layout instead of constantly switching. When you know where to find token holders, contract source, and internal transactions at a glance, your speed and confidence in evaluating new projects grows far faster than just reading whitepapers or influencer threads.
Practical due diligence workflow with any explorer
Step 1: Verify the contract before you touch a token
Whenever someone sends you a token link, treat it as a hypothesis, not a fact. Instead of clicking “Buy” in an app, copy the token’s contract address from a trusted source—like the official project site, a reputable listing service, or a major exchange—and paste it into your explorer. Check that the token name and symbol match what you were promised, then look at creation date, verified source code, and whether the contract is upgradeable. Since 2022, a consistent theme in exploited DeFi projects has been overly powerful admin functions: the team could freeze transfers, change fees, or modify balances. If an explorer clearly flags such capabilities and the project doesn’t explain why they’re needed, downgrade your trust immediately; past data shows that opaque control over contracts is a frequent precursor to “unexpected” changes that hurt regular holders.
Step 2: Inspect holder distribution and liquidity
Next, look at the “Holders” tab. Healthy projects generally don’t have a single wallet controlling almost the entire supply, unless that wallet is a transparent vesting or treasury contract. Over the last few years, many rug pulls followed a simple pattern: one or two wallets held most of the tokens and could dump into thin liquidity at any time. A cautious rule of thumb: if one non‑contract address holds such a dominant share that its sale would destroy the market, you’re speculating on that person’s goodwill, not on fundamentals. Also check where the liquidity pool tokens live; explorers often label LP tokens held in a burn address or a time‑lock contract. If instead you see them in a normal wallet with no locking mechanism, you’ve identified classic “pull the plug” risk often seen in tokens that launch, pump for a week and then vanish from daily volume charts.
Step 3: Trace the project’s money flows
Good teams usually behave consistently on‑chain: they receive funds to a treasury, move them to multisig wallets, and then to exchanges or service providers in relatively transparent patterns. Explorers let you follow these flows by clicking through from the treasury address to outgoing transactions. In the last three years, regulators and researchers have become more adept at labeling such flows, which means you’ll often see tags like “exchange hot wallet” or “bridge contract,” helping you parse what’s going on. If a project claims to have raised millions but treasury wallets show only tiny balances, or if large chunks of investor funds quietly move to personal addresses and centralized exchanges, that’s a major red flag. You don’t need forensic‑level skills; simply noticing mismatches between public claims and on‑chain evidence already puts you far ahead of the average newcomer who never opens an explorer at all.
Etherscan in practice: your main lab for Ethereum tokens
Why Etherscan is central to Ethereum due diligence
Ethereum still hosts a dominant share of DeFi blue chips and serious token projects, and Etherscan is the default explorer most tools integrate with. Over the last three years, it has grown from a basic transaction viewer into a rich laboratory: tagged addresses, contract verification, event decoding, token approval revocation, and even basic portfolio snaps. Because so many other interfaces—wallets, dashboards, DEX aggregators—either embed or link to Etherscan, learning it once unlocks skills that apply across the broader EVM ecosystem. When people talk about a “step by step guide using etherscan for token research,” they usually mean a repeatable way to answer a handful of concrete questions: is this the real token, who owns it, what does the contract allow the owner to do, and how has activity around it evolved over time, especially around big market news or price spikes.
Step by step guide using Etherscan for token research
Start with the token’s contract address and paste it into Etherscan’s search bar. On the token page, confirm the name, symbol and total supply, and look for the green “Contract Source Code Verified” badge. Scroll to the “Holders” section to see distribution and note whether top wallets are exchanges, vesting contracts, or unknowns. Then open the “Contract” tab and glance at “Read” and “Write” sections; Etherscan highlights dangerous functions like “mint,” “pause,” or “setFees” if they exist. Next, switch to the “Analytics” tab to view daily transfers and unique holders over time—sudden spikes around announcements can signal inorganic activity. Finally, click a few large holder addresses and inspect their behavior: long‑term wallets that interact with many reputable protocols are a healthier sign than clusters of fresh wallets created within days of each other. This routine takes minutes, but filters out a surprising number of weak or outright malicious tokens.
Using Etherscan to validate dApp interactions
Beyond token vetting, you can use Etherscan to preview and later audit what dApps are doing with your approvals. After connecting your wallet to a DeFi protocol, but before confirming a transaction, check the “function” your wallet displays; then, after sending, grab the transaction hash and open it on Etherscan. Look at the decoded input data and token transfer events: do they match the intent (for example, approve 100 tokens, swap 50)? Over the past few years, a common exploit pattern has been tricking users into signing approvals for essentially unlimited token spending. Etherscan’s “Token Approvals” tool lets you list and revoke these permissions, cleaning up high‑risk allowances that accumulated during bull‑market experimenting. Building a habit of checking these pages regularly helps you avoid becoming part of the recurring yearly statistics of users drained by malicious contracts or compromised dApps.
Using explorers to verify your own everyday transactions
Explorers aren’t only for deep research; they’re essential for daily hygiene. Knowing how to use blockchain explorer to verify crypto transactions saves you from panic and support nightmares. Sent coins to an exchange and they’re not showing up? Paste the transaction hash into the explorer and check status, number of confirmations, and whether the destination address matches the deposit address you copied. If you used the wrong network or token standard, the explorer will reveal that long before support replies. Over 2022–2024, as multi‑chain bridges and L2s exploded in usage, a lot of user losses came not from hacks but simple mistakes like sending tokens to an incompatible network. A quick explorer check exposes these mismatches, helps you understand whether funds are merely delayed or effectively stuck, and trains you to treat every “successful” wallet popup as only the beginning of your verification, not the end.
Combining explorers with other due‑diligence habits
Explorers aren’t magic lie detectors; they tell you what happened, not why. To turn raw data into good decisions, pair them with old‑fashioned skepticism and a few complementary tools. Cross‑check contract addresses from multiple sources, read audit reports but verify that the audited contract matches the one live on‑chain, and keep an eye on governance proposals that might upgrade contracts. Over the past three years, many losses occurred even in audited projects because users never noticed that an upgraded, unaudited version had replaced the one in the report. Use explorers alongside trusted analytics dashboards, news feeds and, when available, formal disclosures by teams. If a project discourages you from looking on‑chain or dismisses explorer screenshots as “FUD” without clear explanations, that alone is a valuable signal. In practice, a simple, consistent explorer routine will quietly shield you from a large share of the risk that headlines only after the damage is done.
